
ShockWave 스킬 구현하기
Gameplay Ability System을 이용해 직선 범위 공격 스킬을 구현하고, 애니메이션 연동 시 발생하는 문제를 해결해 봅니다.
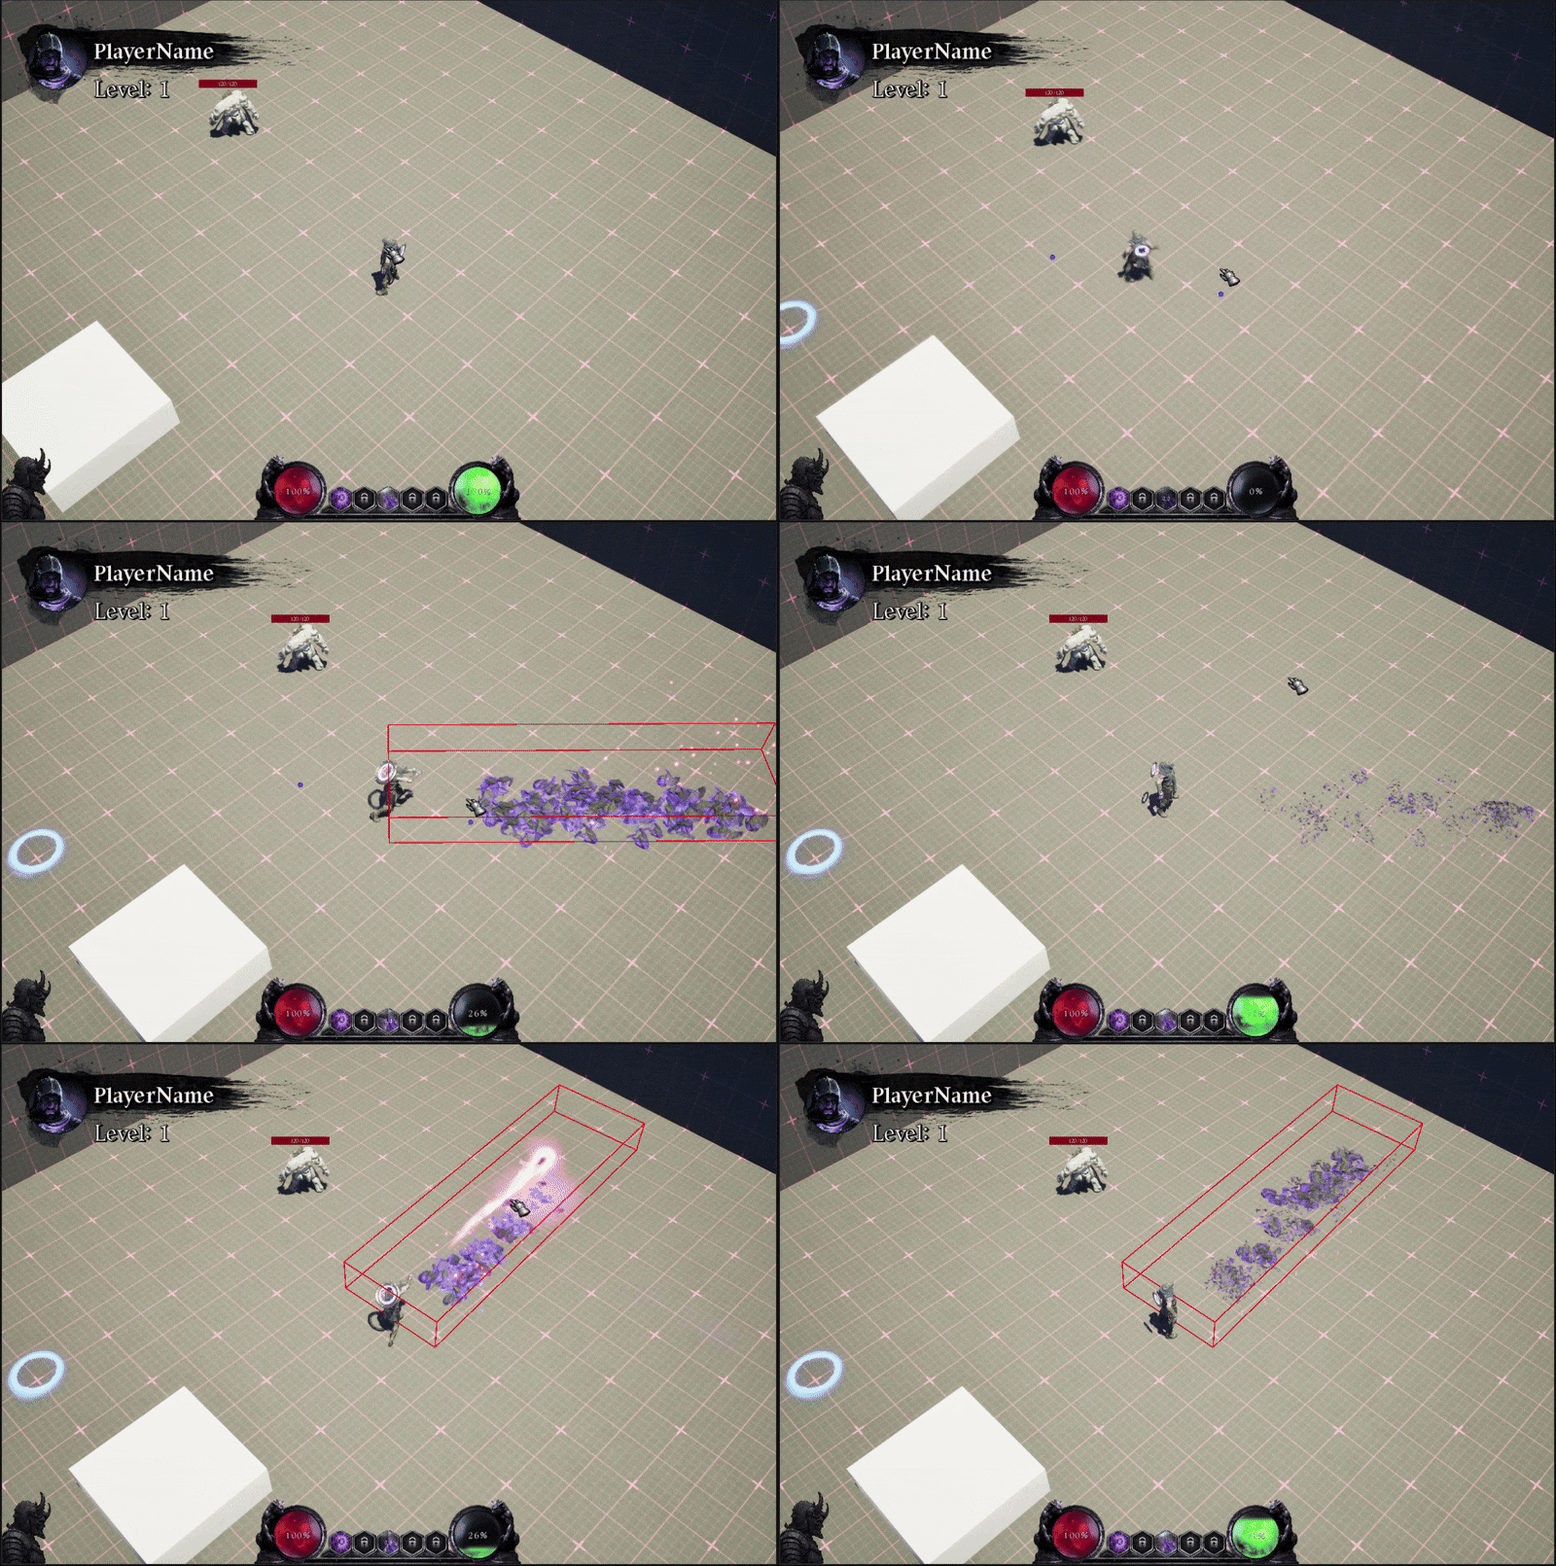
들어가며
오늘은 GAS(Gameplay Ability System) 를 이용해 직선형 범위 공격인 쇼크웨이브 스킬을 만들어 보겠습니다. 이번 포스팅에서 구현할 핵심 기능은 다음과 같습니다.
직선 범위 판정: 캐릭터 정면으로 직사각형 범위 내 적들에게 데미지 적용
상태 제어: 스킬 시전 중 캐릭터 이동 및 입력 제한
시각 효과: 나이아가라 파티클 연동 및 카메라 흔들림 추가
1. GameplayAbility 구현 (C++)
먼저 UGameplayAbility를 상속받은 GameplayAbility_ShockWave 클래스를 생성합니다. 이 클래스는 스킬의 발동 로직과 범위 판정에만 집중합니다.
클래스 프로퍼티 설정
protected:
	/** Effect to apply to targets hit by the wave */
	UPROPERTY(EditDefaultsOnly, BlueprintReadOnly, Category = "ShockWave")
	TSubclassOf<UGameplayEffect> DamageEffectClass;

	/** Total length of the shock wave */
	UPROPERTY(EditDefaultsOnly, BlueprintReadOnly, Category = "ShockWave")
	float WaveRange = 1000.0f;

	/** Width of the shock wave */
	UPROPERTY(EditDefaultsOnly, BlueprintReadOnly, Category = "ShockWave")
	float WaveWidth = 150.0f;

	/** Object Types to trace for */
	UPROPERTY(EditDefaultsOnly, BlueprintReadOnly, Category = "ShockWave")
	TArray<TEnumAsByte<EObjectTypeQuery>> HitObjectTypes;

	/** Debug draw duration */
	UPROPERTY(EditDefaultsOnly, BlueprintReadOnly, Category = "ShockWave")
	float DebugDrawDuration = 2.0f;
실제 게임관련 로직을 수행하는 UFUNCTION 을 하나 만들어줍니다.
UFUNCTION(BlueprintCallable, Category = "Ability|ShockWave")
void ExecuteShockWave(const FVector& TargetLocation);
ShockWave Logic
AActor* AvatarActor = GetAvatarActorFromActorInfo();
if (!AvatarActor)
{
    return;
}

const FVector StartLocation = AvatarActor->GetActorLocation();
FVector Direction = (TargetLocation - StartLocation);
Direction.Z = 0.f;
Direction.Normalize();

const FVector EndLocation = StartLocation + (Direction * WaveRange);
const FRotator Orientation = Direction.Rotation();
Direction.Z 를 0으로 설정하여, 마우스 커서가 바닥이 아닌 벽이나 높은 곳을 가리키더라도, 스킬은 캐릭터의 높이에서 수평으로 나가야 합니다.
시작 지점과 마지막 지점을 설정하고 Rotation을 정렬합니다.
FVector BoxHalfSize = FVector(0.f, WaveWidth * 0.5f, 50.0f);

bool bHit = UKismetSystemLibrary::BoxTraceMultiForObjects(
    GetWorld(), StartLocation, EndLocation, BoxHalfSize, Orientation,
    HitObjectTypes, false, /* bTraceComplex */
    ActorsToIgnore,
    DebugDrawDuration > 0.f
        ? EDrawDebugTrace::ForDuration
        : EDrawDebugTrace::None,
    OutHits, true, /* bIgnoreSelf */
    FLinearColor::Red, FLinearColor::Green, DebugDrawDuration);
일반적인 LineTrace는 판정이 너무 얇아 적을 맞추기 어렵습니다. BoxTraceMultiForObjects를 사용해 직사각형 형태의 넓은 판정 범위를 생성합니다.
if (bHit)
{
    UAbilitySystemComponent* SourceASC =
        GetAbilitySystemComponentFromActorInfo();
    if (!SourceASC || !DamageEffectClass)
    {
        return;
    }

    FGameplayEffectContextHandle EffectContext = SourceASC->MakeEffectContext();
    EffectContext.AddSourceObject(AvatarActor);

    const FGameplayEffectSpecHandle SpecHandle = SourceASC->MakeOutgoingSpec(
        DamageEffectClass, GetAbilityLevel(), EffectContext);


    const FTGameplayTags& GameplayTags = FTGameplayTags::Get();
    UAbilitySystemBlueprintLibrary::AssignTagSetByCallerMagnitude(
        SpecHandle, GameplayTags.Damage, 100.f); // Base damage example

    TSet<AActor*> ProcessedActors;

    for (const FHitResult& Hit : OutHits)
    {
        AActor* HitActor = Hit.GetActor();
        if (HitActor && !ProcessedActors.Contains(HitActor))
        {
            ProcessedActors.Add(HitActor);

            UAbilitySystemComponent* TargetASC =
                UAbilitySystemBlueprintLibrary::GetAbilitySystemComponent(HitActor);
            if (TargetASC)
            {
                SourceASC->ApplyGameplayEffectSpecToTarget(*SpecHandle.Data.Get(),
                                                            TargetASC);
            }
        }
    }
}
ProcessedActors로 데미지를 입힌 액터는 다시 처리하지 않습니다.AssignTagSetByCallerMagnitude를 사용해 데미지 수치를 할당합니다.
문제 발생

애니메이션이 재생되는 동안 캐릭터가 입력에 의해 미끄러지듯 이동하는 문제가 발생합니다. 이를 해결하기 위해 다음과 같은 순서가 필요합니다.
캐릭터의 상태를 멈춘다.
사용자 입력을 멈춘다.
GameplayEffect
해당 문제를 해결하기 위해 GameplayEffect를 생성합니다. 이 이펙트는 즉시 발동되며, 계속해서 지속됩니다.
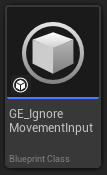
또한 State.Cost.Rooted 라는 태그를 부여하고, 캐릭터의 어트리뷰트 중 하나인 MovementSpeed에 0을 곱해서 0으로 만듭니다.

그 이후 GA(GameplayAbility)에서 애니메이션 재생 전에 위 이펙트를 적용합니다.

마지막으로, EndAbility를 발생하면 적용되었던 이펙트를 삭제시킵니다.

입력 초기화
void ATPlayerController::MovePlayerToDestination()
{
	if (!bMovingToDestination)
	{
		return;
	}

    // 입력 무시
	if (GetTASC())
	{
		FGameplayTag RootTag = FTGameplayTags::Get().State_Cast_Rooted;
		if (GetTASC()->HasMatchingGameplayTag(RootTag))
		{
			bMovingToDestination = false;
			return;
		}
	}

	if (PossessedCharacter)
	{
		const FVector LocationOnSpline = RouteSpline->FindLocationClosestToWorldLocation(
			PossessedCharacter->GetActorLocation(), ESplineCoordinateSpace::World);
		const FVector WorldDirection = RouteSpline->FindDirectionClosestToWorldLocation(
			LocationOnSpline, ESplineCoordinateSpace::World);

		PossessedCharacter->AddMovementInput(WorldDirection);

		const float DistanceToDestination = (LocationOnSpline - CachedDestination).Length();
		if (DistanceToDestination <= StopMovementRadius)
		{
			bMovingToDestination = false;
		}
	}
}


void ATPlayerController::HeldAbilityAction(const FInputActionValue& Value, const FGameplayTag Tag)
{
	...

	if (bIsTargeting)
	{
		if (GetTASC())
		{
			GetTASC()->HeldAbilityInputTag(Tag);
		}
	}
	else
	{
        // 입력 무시
		if (GetTASC())
		{
			FGameplayTag RootTag = FTGameplayTags::Get().State_Cast_Rooted;
			if (GetTASC()->HasMatchingGameplayTag(RootTag))
			{
				return;
			}
		}

		MousePressTime += GetWorld()->GetDeltaSeconds();

		if (CursorTraceHit.bBlockingHit)
		{
			CachedDestination = CursorTraceHit.ImpactPoint;
		}

		if (PossessedCharacter)
		{
			const FVector WorldDirection = (CachedDestination - PossessedCharacter->GetActorLocation()).GetSafeNormal();
			PossessedCharacter->AddMovementInput(WorldDirection);
		}
	}
}
컨트롤러 코드에 다음과 같은 코드를 추가하여 State.Cast.Rooted 태그가 있으면 사용자의 입력을 무시하게 됩니다.
결과

파티클 생성
시각적 효과를 추가하기 위해 파티클을 구성해보도록 하겠습니다. 먼저 스킬의 컨셉은 다음 그림과 같습니다.

플레이어 캐릭터에서 총알이 발사 되고, 총알에서 지형까지 Ray를 쏴 해당 지형에 파티클을 생성합니다. (제가 직접 그렸는데 알아볼 수 있으신가요?😅)
구현 과정은 인터넷에 공개되어 있는 Projectile 로직이랑 똑같습니다. 그 외 개발하면서 오류가 났던 부분에 대해 말해보고 싶어요.
UpVector

테스트에서 위 사진과 같은 모습이 출력됩니다. Ray가 한쪽으로 쏠려 일자로 파티클이 생성되질 않습니다. 그래서 Ray 생성 코드를 다시 살펴보았습니다.

어떤 부분이 잘못된 건지 보이시나요? Vector Get Sign Vector 이 노드가 문제였습니다. 저는 이 노드가 외적의 결과를 항상 UpVector로 반환해주겠지 라는 생각으로 적었던 것이었는데, 코드를 살펴보니 x,y,z 의 성분이 0보다 크면 1을 반환, 0보다 작으면 -1, 0이면 0을 반환하는 노드였습니다.
그래서 값이 (0.1, 0.0, 0.99) 이런 식이면 (1, 0, 1)로 바뀌는 것이었죠. 때문에 UpVector 방향을 잃어버리고 8방향 중 하나로 고정되는 것이었습니다.

결과적으로 언리얼 엔진에서는 UpVector를 기본적으로 제공하고 있습니다. (알고있었는데, 왜 그랬지...)
CameraShake

이제 스킬 사용 시 카메라를 살짝 흔들어서 사용자 반응성을 향상 시킵니다. Start Camera Shake 라는 노드를 통해서 카메라 효과를 호출할 수 있습니다. 애니메이션에 맞추어 발동이 되어야 하기 때문에 AnimNotify를 통해 효과를 연출합니다.
카메라 효과는 가장 기본적인 파동형 패턴을 생성합니다.

그 다음 AnimNotify에서 Start Camera Shake 노드를 호출하고 연결하면 끝입니다.

결과

마무리
GAS를 활용하면 단순한 데미지 전달을 넘어, GameplayTag를 통해 캐릭터의 상태(State)와 능력(Ability) 간의 상호작용을 매우 깔끔하게 관리할 수 있습니다.
다음 포스팅에서는 더 흥미로운 주제로 돌아오겠습니다!